Hints


Shortening of the lever

The lever of the miniature switch can be shortened to prevent the Tinyfox Transmitter from being switched on unintentionally. Since there is a spiral spring inside the lever that must not jump out, the following procedure is recommended (at your own risk!):
  1. Carefully notch the lever with a heavy pair of wire cutters round about 3 mm above the external thread.
    Zangenansatz First notch

  2. Turn the lever by 90° and and notch it with the wire cutters on the same level, then cut it through.
    Pay attention that you really turn the lever, since the lever is freely rotatable inside the switch!
    Second notch After the cut

  3. Seal the open end of the lever by a small portion of solder - don't solder too long to avoid damage inside the switch.
    Hint: Quickly add solder until a small ball has formed and then remove the soldering iron immediately.
    After the soldering

Optional: Fixing the flexible wires at the battery holder

Hint for battery holders which are not shipped with attached connection wires:
The flexible wires that lead away from the battery holder should be glued to the housing nearby the holder since there is the risk that the (mostly thin) flexible wire breaks at the transition to the inflexible, tinned (due to the soldering) piece of wire at the connection of the battery holder, especially if the housing is opened and closed many times.
Wire is fixed

Mounting an earthing rod

An earthing rod attached to the Tinyfox transmitter serves two purposes: if used as an electrical ground it can extend the range of the transmitter, and it makes it easier to place the transmitter in the ground without toppling. The mounting of the earthing rod is done as follows:
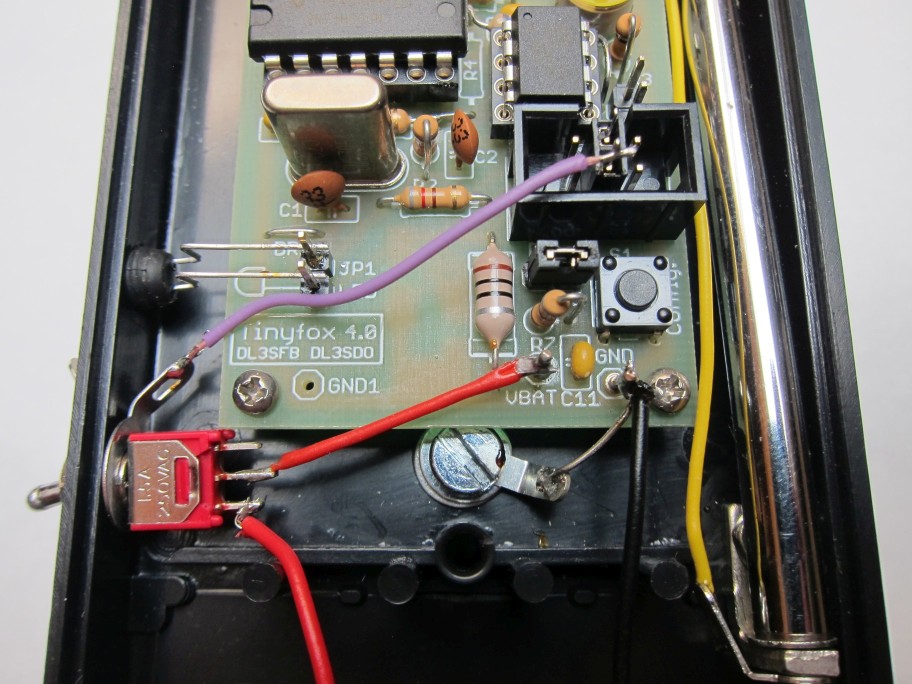
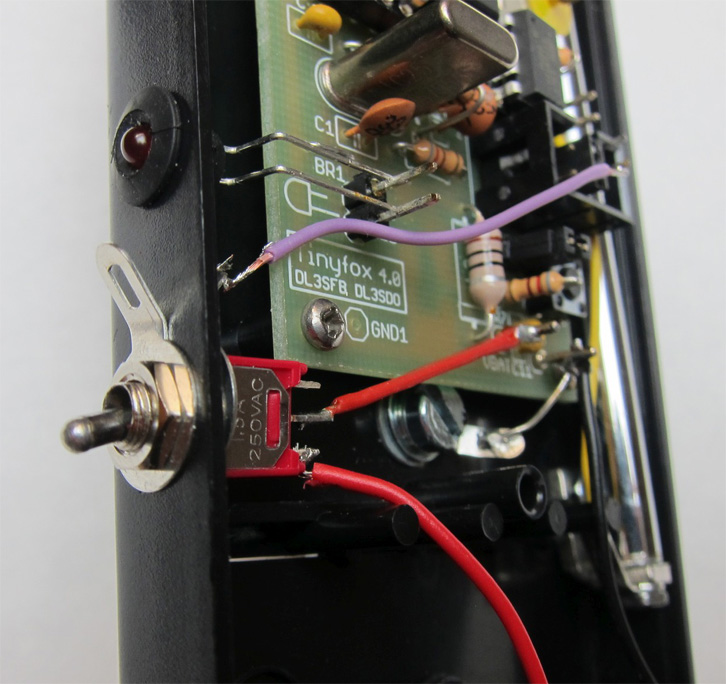
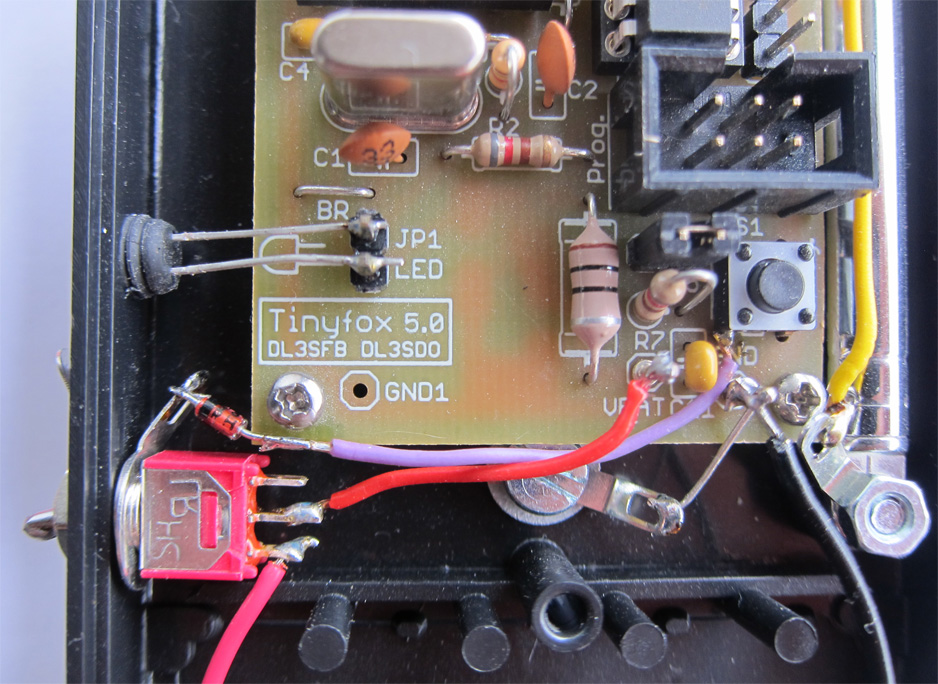
  1. There is a screw hole in the Tinyfox housing, just above the battery case. Drill a 4 mm diameter hole 6.5 mm above the screw hole.
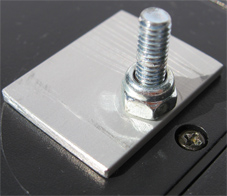
  2. A small plate should be placed between the housing and the earthing rod, e.g. a small aluminium plate 22x20x2 mm. Drill a 4 mm hole in the plate 11 mm from each side and 4 mm from one end.
  3. Slip an eyelet and a washer on an M4x20 screw and insert the screw through the 4 mm hole from the inside of the housing. Mount the plate on the outside of the housing such that the plate will not cover the screw hole and fix it with an M4 self-locking nut.
  4. A sheet steel tent peg, e.g. 24 cm long, can be used as earthing rod. Drill a 4 mm hole in the tent peg, e.g. 9 cm away from the upper end. When selecting a tent peg make sure it is sufficiently rounded, such that the self-locking nut fits within the curve and the tent peg lies on the small plate instead of on the nut.
  5. The tent peg is slipped on the screw and fixed by a M4 wing nut, which allows for easy mounting and dismounting.
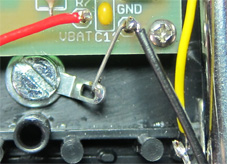
  6. If you want an electrical earthing the eyelet is connected to the transmitter's ground, e.g. at the solder pin for the battery ground. By electrically earthing the transmitter the matching is changed. Therefore if the earthing rod is installed after the transmitter was already built up and matched, it needs to be rematched.
components inside the housing
self-locking nut on plate
transmitter with earthing rod

Transport

For transporting several transmittters in a rucksack or bag it is well-proven to wrap each transmitter in one or two layers of bubble wrap.
The cord of the corresponding needle punch (if used) is then wrapped around to keep everything together.
Transport in bubble wrap

Configuration without opening the Tinyfox

Normally there is no need to reconfigure the Tinyfox after initial configuration.
However, if the Tinyfox shall be reconfigured frequently, or if the keying of a spare TX needs quickly to be set, then unscrewing the housing before is cumbersome.
There are some ways to avoid it: